
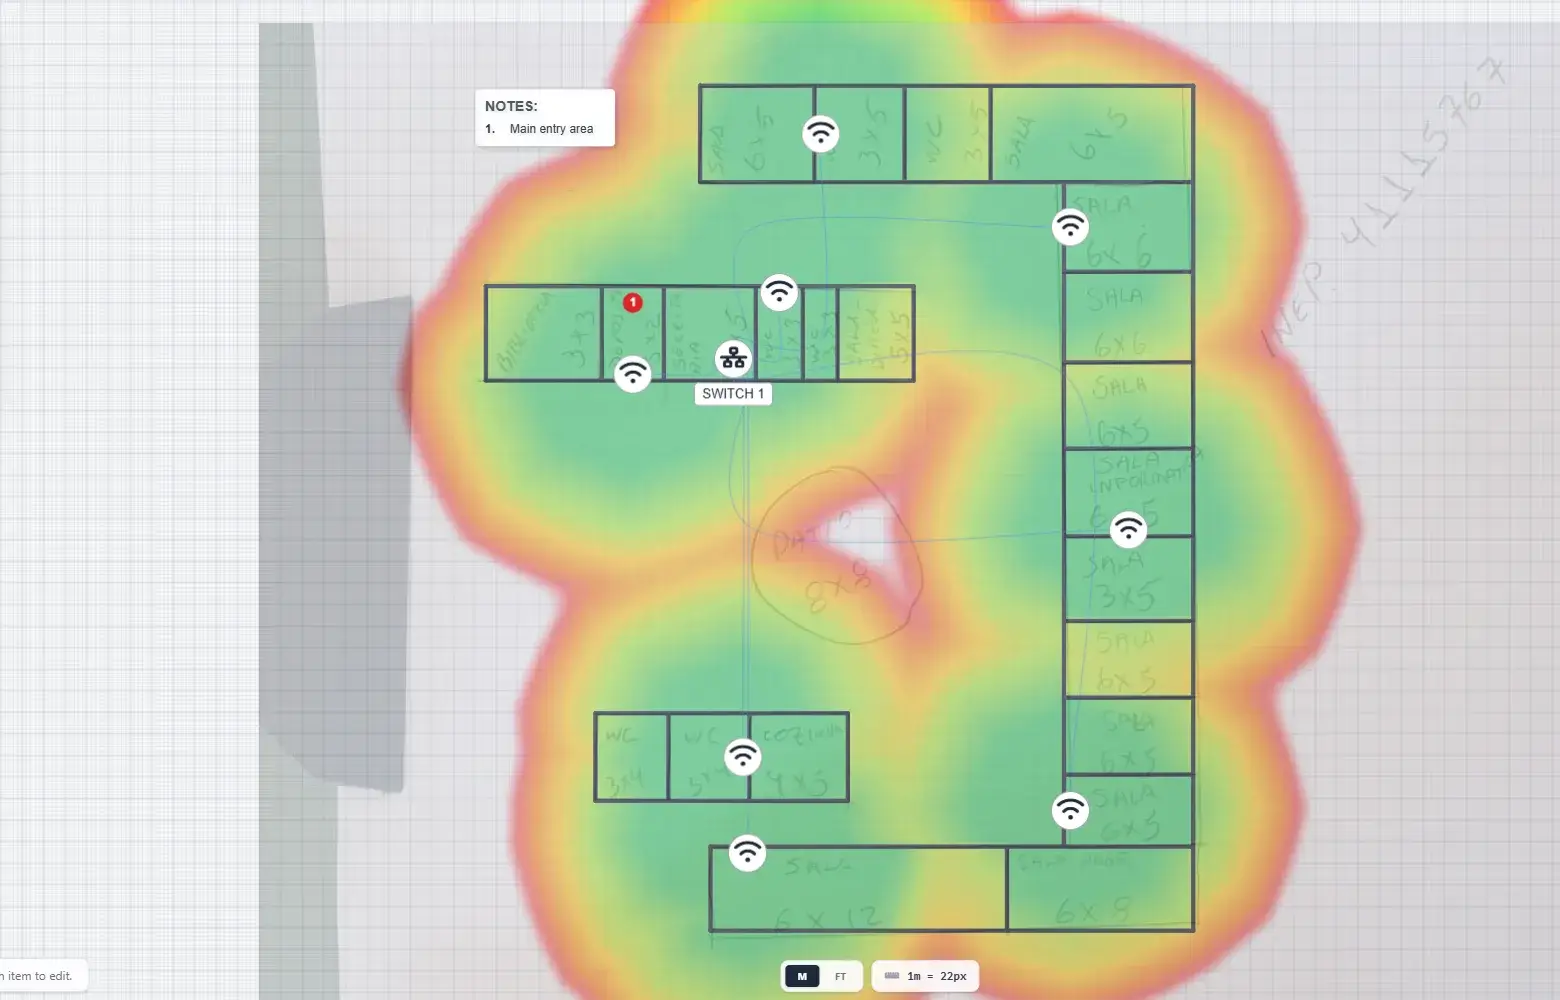
A lot of field work starts without a floor plan. The client walks you down a corridor saying “classroom, classroom, toilets, staff room”, you jot the sizes on a notepad, and back at the office someone has to turn that into something you can quote from. Drawing every wall by hand and then fixing every corner is slow, and it is the part of the job nobody is paid for.
The Rooms tool, in the Build group right after Wall, does that part in one go. Most commercial buildings, schools and offices above all, are rows of rooms side by side. You describe them on a grid, check a to-scale preview, and Strucit draws the walls.
How it works
- Pick Rooms in the Build tools. The Add rooms dialog opens.
- Paint squares on the grid. Each square is one room. Touching squares form a block (A, B, C…) whose rooms share their dividing walls; leave a square empty to start a new block, 3 m away by default.
- Size and name each room. Type its width and length, in metres or feet. A new room copies the last size you typed, and a block whose sizes differ offers to use one size for all its rooms.
- Check the preview. It is to scale, with a line every metre. Drag a room’s edge to resize it, or drag a room to move its whole block; the gap chips set the distance between blocks, and rooms that overlap turn red.
- Pick the wall materials for the outer and the shared walls, then Add.
The rooms land in the middle of the view, selected together so you can move them all at once. One Ctrl+Z takes the whole lot back off.
What lands on the plan
- Plain walls. The rooms are ordinary walls, nothing tying them together once they are added. Each wall selects on its own, like a wall drawn by hand, so you can move a divider or delete it later.
- Materials that matter. Outer walls start as concrete and shared walls as drywall, or as whatever you set on your Defaults page. The Wi-Fi heatmap reads them: a concrete wall costs far more signal than drywall.
- A label per room. Each room gets its name over its area. The area is live: delete the divider between two rooms and both labels show the merged room’s area.
- Labels for rooms you drew yourself. With the Select tool, click inside any closed room and choose Add Label to name it the same way.
Why it pays off on site
On the walk. The dialog works on a phone as a sheet: tap squares to add rooms, and size the active one from the dock at the bottom. Pace a room, type its size, move on. By the end of the walk the plan exists, not a page of notes to redraw later.
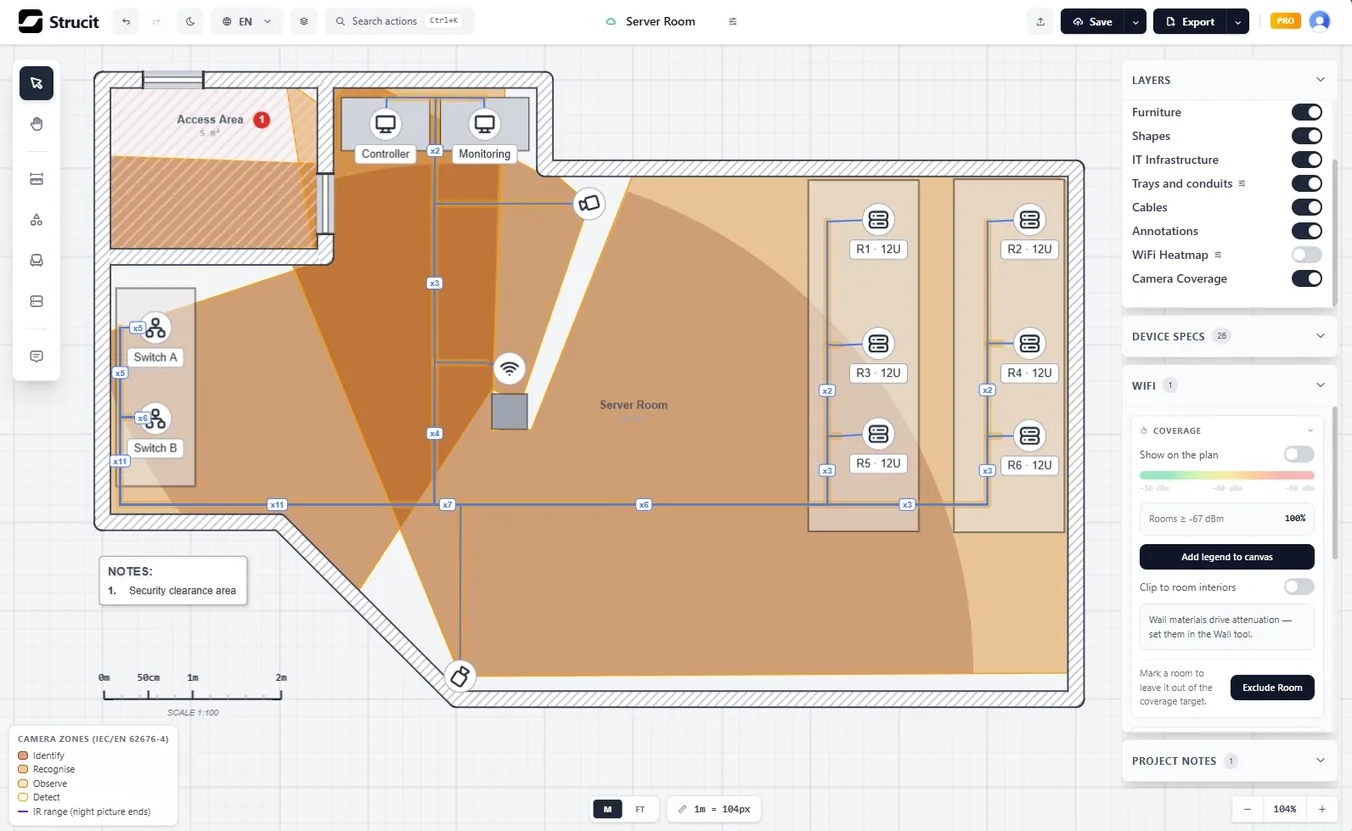
For the first proposal. The client wants a number before anyone has found the architect’s drawings. Lay out the rooms in a few minutes, place the access points, cameras and switch, connect the devices to the switch with Autoconnect, and the cable lengths are measured as you go. The equipment and cabling report comes out of the same plan, so the estimate rests on lengths you can show, not a guess per point.
When the real plan turns up. Keep going on the same project: upload the drawing as a reference image under your rooms and adjust what moved, or, with Pro, let wall detection trace it for you.
Room names travel into the reports
The labels are not decoration. The text and PDF reports name every device with the room it stands in, taken from the room label around it, as in “PC 1 (Reception · Ground)”. The rack designer’s Ports tab does the same for whatever is at the far end of each port. Name your rooms in the dialog and the technician who reads the report knows which door to open.
They help the heatmap too: the coverage figure is the share of the rooms that gets good signal, and you can leave a room such as a stairwell or a storeroom out of the target.
A few tips
- Large sites. The grid starts at 12 × 8 squares and goes up to 30 × 20. Strucit remembers the last size, and you can set your own on the Defaults page.
- Corridors. Leave a row of empty squares between two rows of rooms. The gap between the blocks becomes the corridor; set its width with the gap chip.
- Doors. The dialog doesn’t add doors. Add them afterwards with the Door tool.
- Feet. Switch the canvas to FT and the dialog takes sizes and gaps in feet.
Free and Pro
The Rooms tool and room labels are free on every plan, no account needed. The Wi-Fi heatmap, wall detection from an image and the PDF report are Pro.
Next site walk, open Strucit on your phone, pick Rooms and paint the first block.